Applesauce

A while ago we went to the apple orchard to pick apples to make applesauce.   I made the applesauce pretty soon after going, but never got around to posting pictures.


If you have never made applesauce you should try.  It is pretty easy, just a bit time consuming.

Step One:
Peel, core and cut all the apples.  This is what takes the most time.  I didn’t take any pictures of the process, but I used about a 1/2 bushel of apples.  As I cut the apples I place them in a a bowl of water with some everfresh sprinkled on.

Step Two:
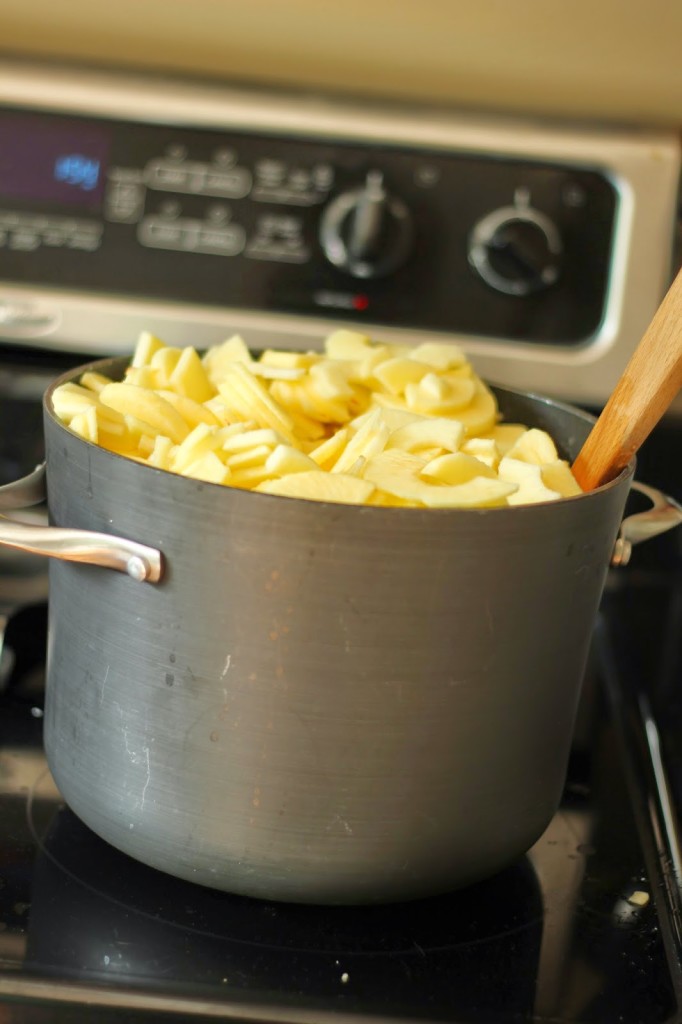
Add a little bit of water to the bottom of the pot and start adding your apples to the pot.  I add the apples to the pot as they fill the bowl I put them in after cutting.  After filling the pot about 1/2 way with apples I turn the stove on medium low to help the apples start cooking down (this way I have enough space to put all the apples in).

Step Three:
Cook the apples so they start getting soft, and eventually (after a few hours) turn to sauce.  Be sure to stir the apples or else the bottom will start to burn.
Here you can see there are still a lot of apple pieces, so keep cooking it and stirring it occasionally.

This is also the time I start preparing the canner and jars.  To do this, I fill the canner (which is just a really big pot that comes with a rack to hold the cans) with some water.  I then put the jars I will be using in, and make sure the water in the canner is 1 inch above he jars.  Bring the water and cans to a boil.  Boil the cans for about 10-15 minutes to sterilize (the amount of time depends on your elevation, so check it out).  After the jars are sterilized, turn the heat down and just let them simmer.  You want to keep the jars hot, since you will be putting hot applesauce in them.  Sorry I didn’t take any pictures.  I was pretty beat by that time, and we had family coming over for a
pizza-paloza.  There are many websites that can teach you all about
canning.

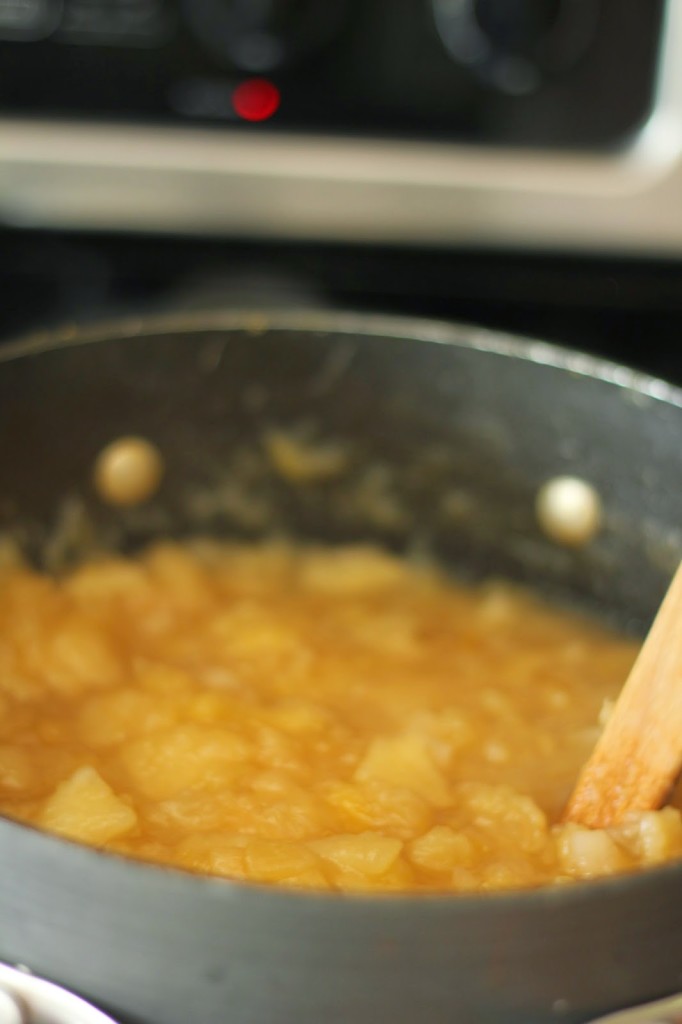
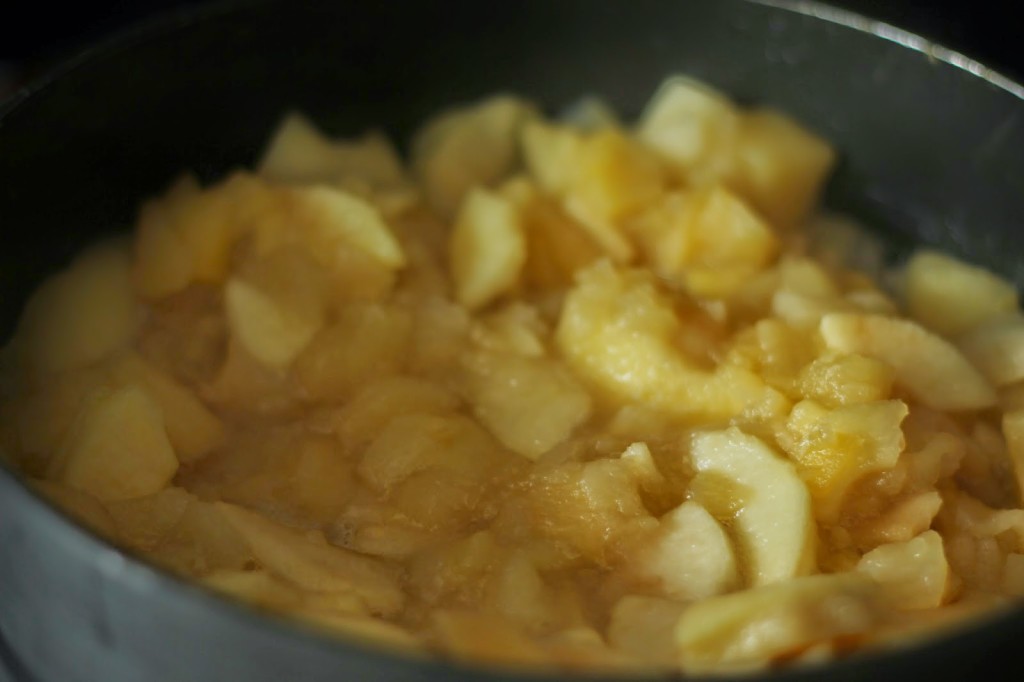
Now that your canner is reading, you can check out your applesauce.  As you can see here, the apples have cooked down much more. 

 
 I actually took a potato masher to it as well, to make it a bit more smooth.  If you like chunky applesauce then you can keep it as is.

Step Four:
Now is the time to can!  Using tongs, take the jars out of the the water and place on a towel.  Fill each jar with applesauce leaving 1/2 inch empty space from the top (if you want to get fancy, that is called head space).  Wipe the top of the jar and place the lids and bands on the jar.  Return to canner, and allow to boil (aka process) for about 20 minutes (once again the time depends on your elevation).
Step Five:
Enjoy your applesauce!
 

Similar Posts

  • |

    Browned Butter Chocolate Chip Cookies With Fresh Milled Flour

    These browned butter chocolate chip cookies with fresh milled flour are soft and gooey in the center, slightly crisp on the edges, and packed with caramel flavor from the browned butter. Fresh milled soft white wheat gives these cookies a deep, nutty flavor you simply can’t get from all-purpose flour. If you’ve never baked cookies…

  • |

    100% Fresh Milled Flour Sandwich Bread

    This fresh milled flour sandwich bread is soft, sliceable, and perfect for everyday sandwiches. While baking with 100% fresh milled wheat flour can feel intimidating, this recipe walks you through the process step-by-step so you can bake fluffy homemade sandwich bread with freshly milled grains. If you grind your own flour at home, this easy…

  • Quick and Easy Chili

    How is everyone doing this Monday morning?  It was a busy weekend for us, and this week is going to be super busy as well.  Lots of activities going on!  Today I wanted to share a quick and easy chili recipe that I like making during the week.  It’s a bit different than my crock…