
I hope that everyone had a splendid weekend!
This weekend we tried to have some fun by just chilling. It was nice not to have any plans!
Today I wanted to share with you some instructions on how I made my Thanksgiving Chalkboard.
Step One:
I found the center of the top and bottom of the chalk board and made a mark. I then measured down on either side of the chalk board and made a mark. I used those two marks to create the corner triangles.
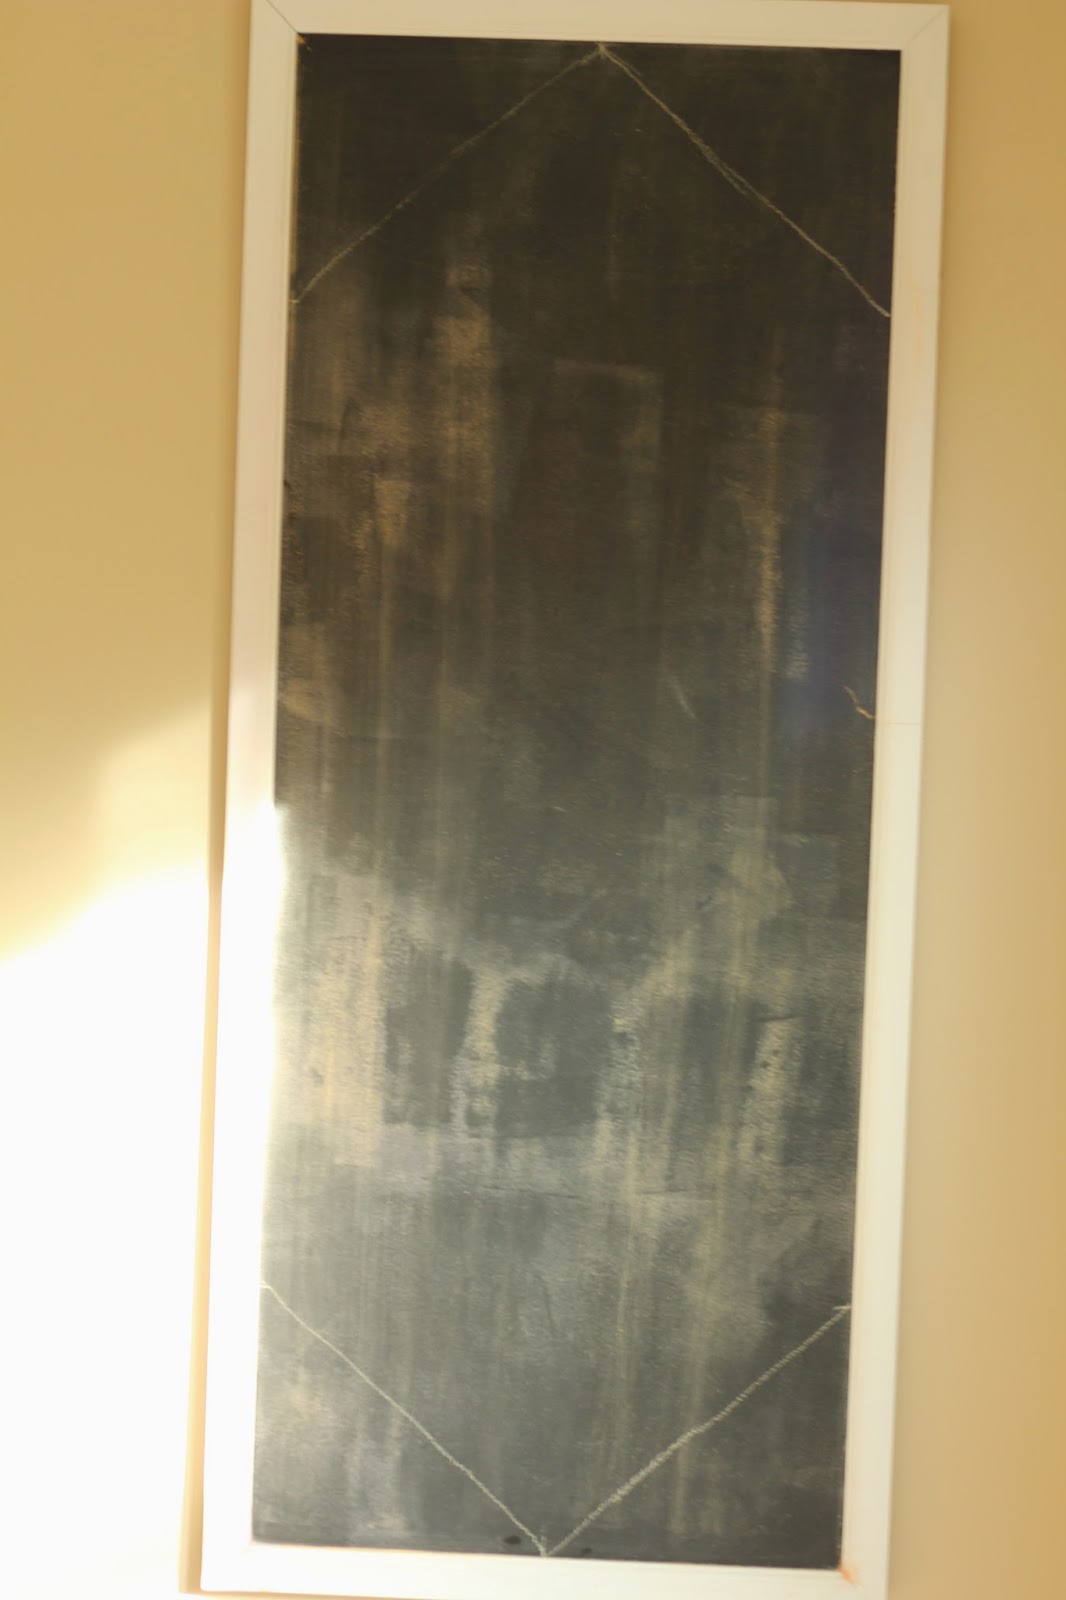
Step Two:
Create your corner flourishes. I used the triangles to help me keep the flourishes the same size, and triangular shaped.
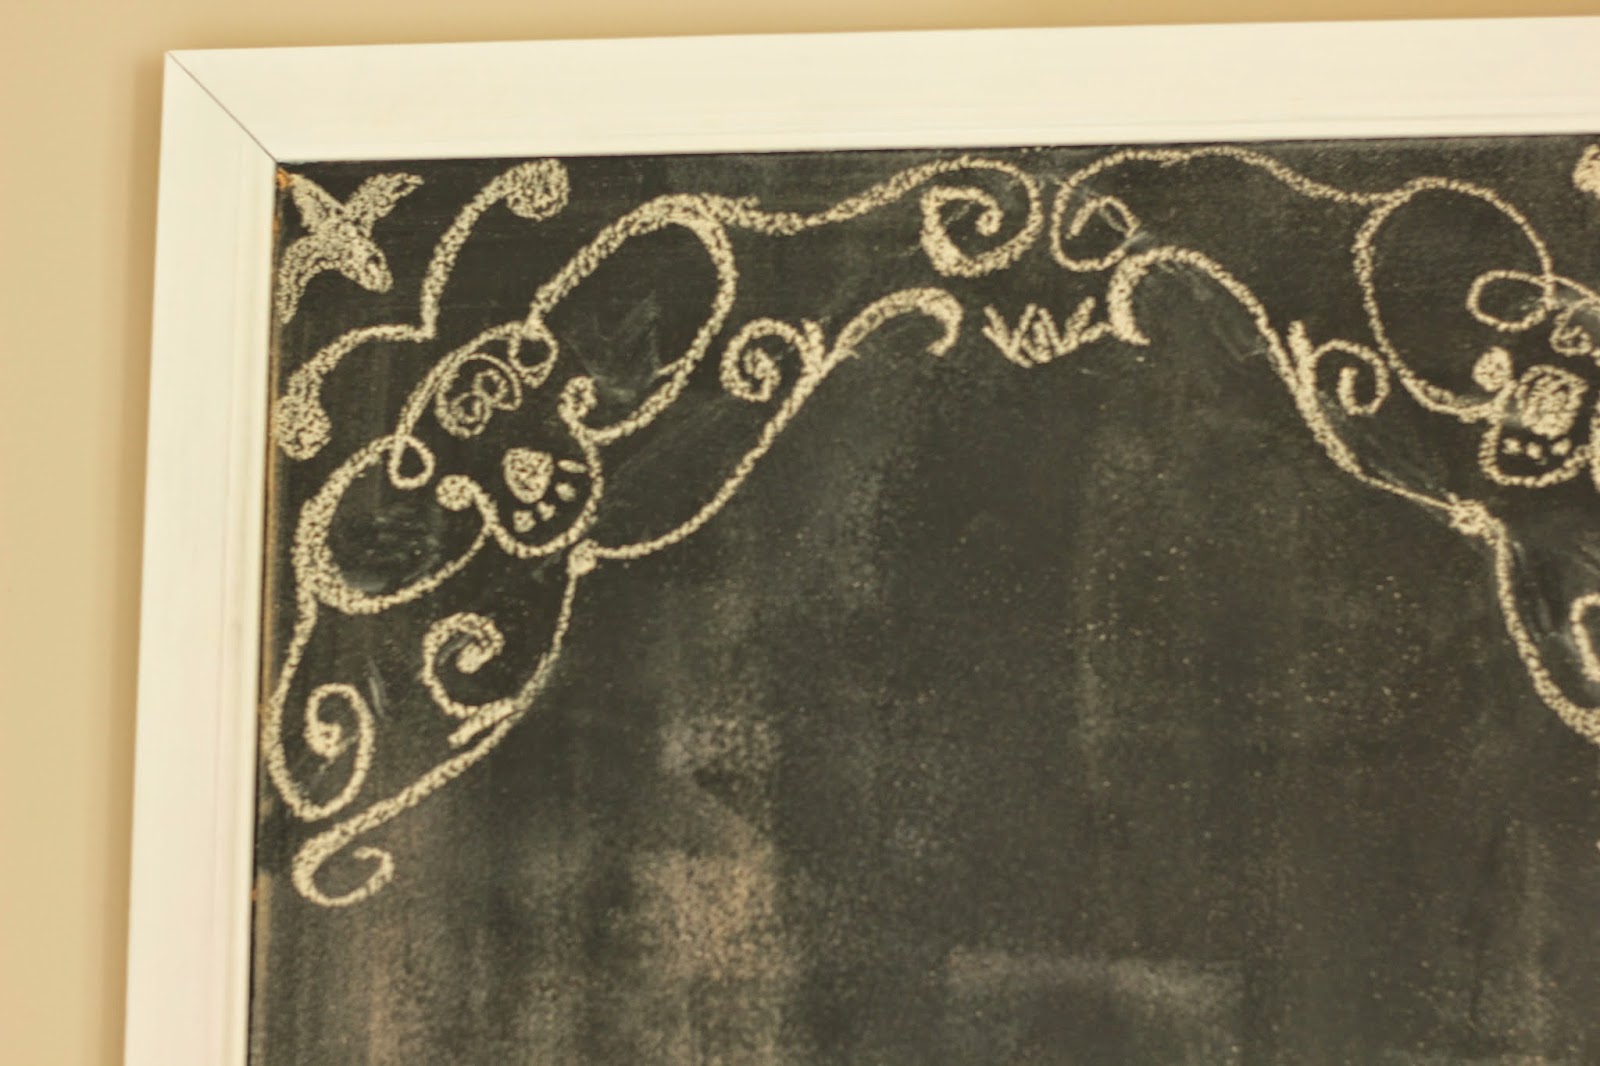
Step Three:
Find the center of the chalkboard and draw a light line all the way down. Use that to help you center your words. I usually figure out what letter/letters are in the middle of the word and work from the middle out (does that make sense?). So for thankful, I started by writing kful, then naht.

Step Four:
Embellish your letters however you would like!

These pictures also make me realize that I need to repaint my chalk board. Maybe that will be a task for this weekend.
Have a great week! 🙂
Linking up with:

