I am finally sharing my 10 gingerbread house tips and tricks to making your own gingerbread house at home. I had wanted to do this post last year, but then ran out of time. I really enjoy baking and crafting with my girls, so doing a gingerbread house every year is something we love to do. I’ve learned a lot over the years, so figured I could share some of what I discovered along the way.
Tip #1: Use a “construction” gingerbread recipe
I highly suggest making your own gingerbread for a house. I think they smell way better, you can pick the size you want, plus you can figure out the shape of house you want to. If you do this you want to use a recipe that is specific for building gingerbread houses. These recipes make dough, that when baked, becomes pretty hard. Great for building, not for eating. This is the recipe I used. To be honest, I didn’t really love this recipe, but I may not have gotten some of the measurements not exact. I may try another recipe to see if I like it better.
Tip #2: When cutting your pieces use a ruler with your stencil
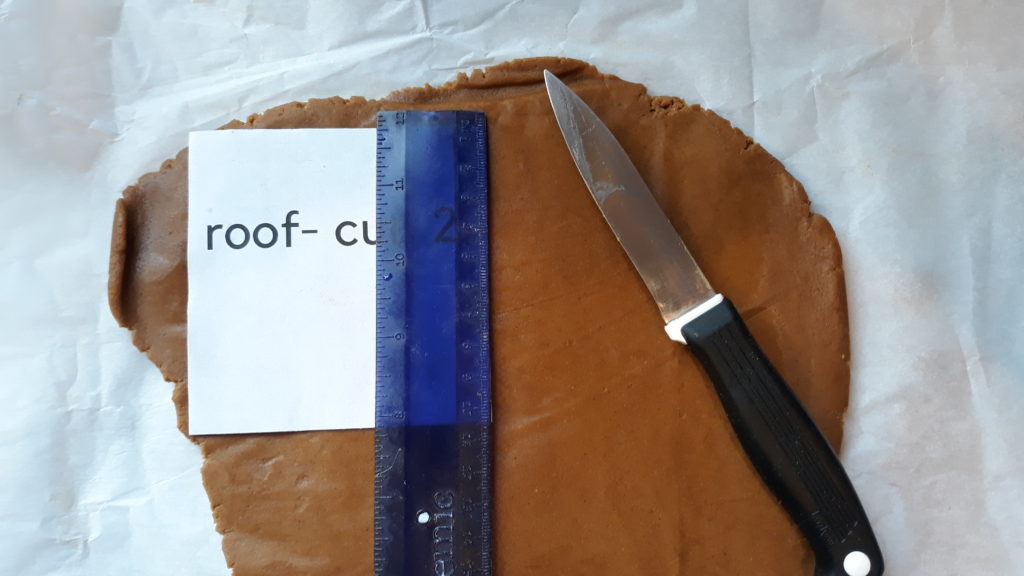
Having straight lines is pretty important when assembling your gingerbread house. In order to do this I use a ruler placed on top of the stencil to use as a guide. I use a knife to cut the pieces out, but you could also use a pizza cutter. If you are looking for a pattern you can print up mine here.
Tip #3: Let your pieces sit overnight
After you have baked you gingerbread pieces allow them to sit overnight. This allows them to get hard, which works better when it comes to to assemble them.
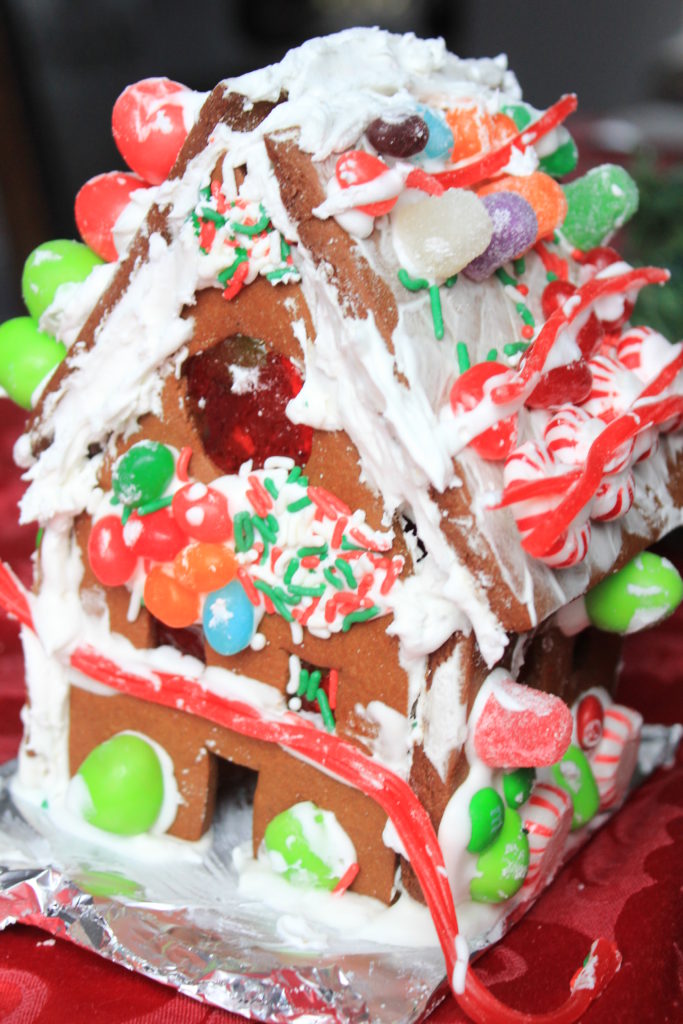
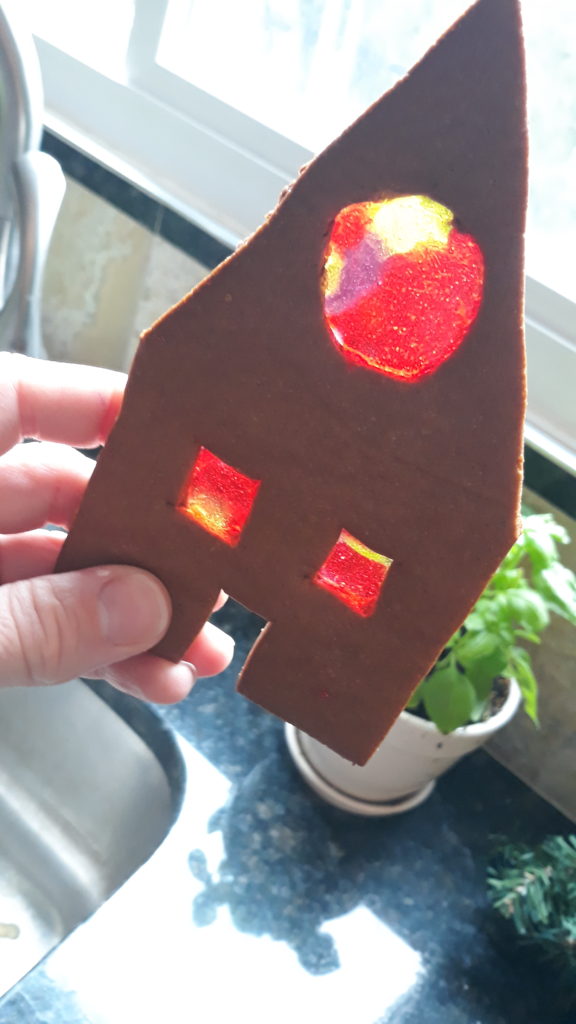
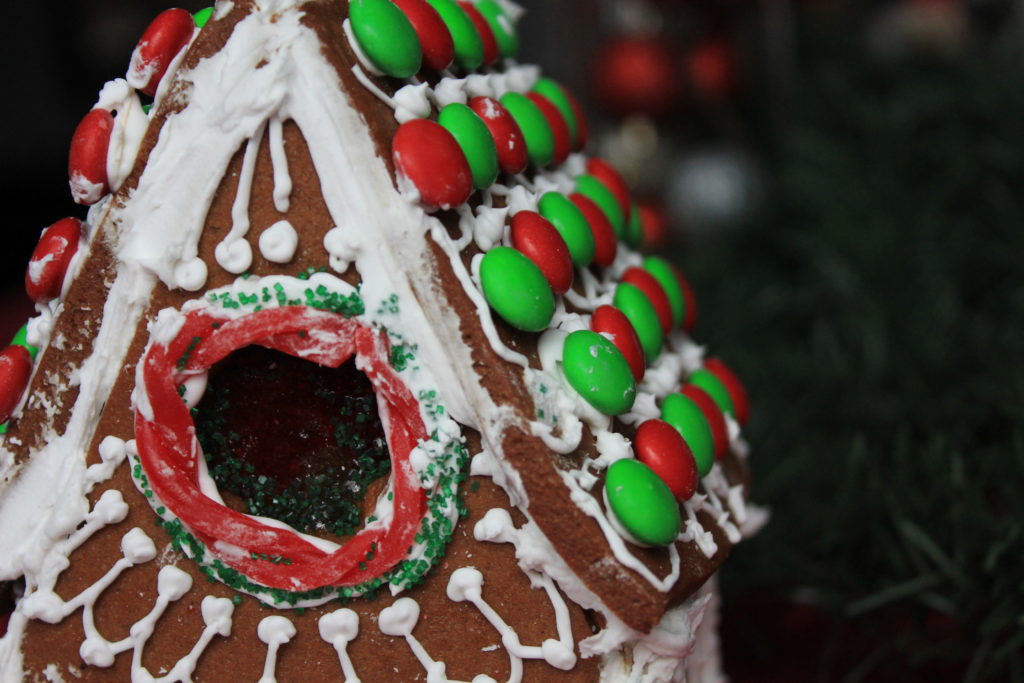
Tip #4: Use pieces of Jolly Ranchers for stain glass windows
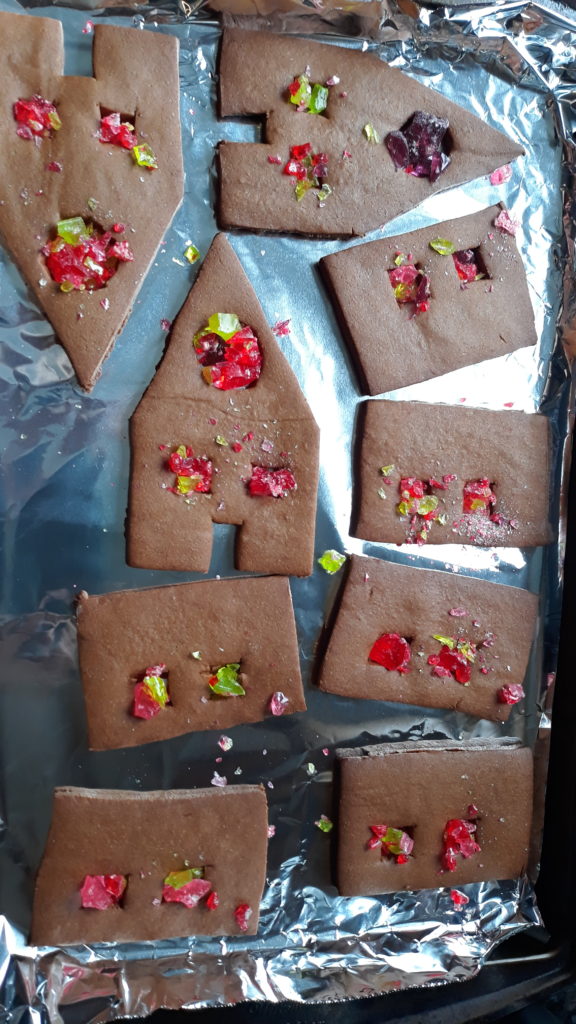
To make stain glass windows preheat your oven to 350 degrees. Place your side pieces on a cookie tray lined with aluminum foil or parchment paper. Put crushed up jolly ranchers in the windows and place in the oven for about 5 minutes. Once the jolly ranchers are melted take the pieces out and allow to cool.
Here is what they end up looking like.
Tip #5: Use royal icing when decorating
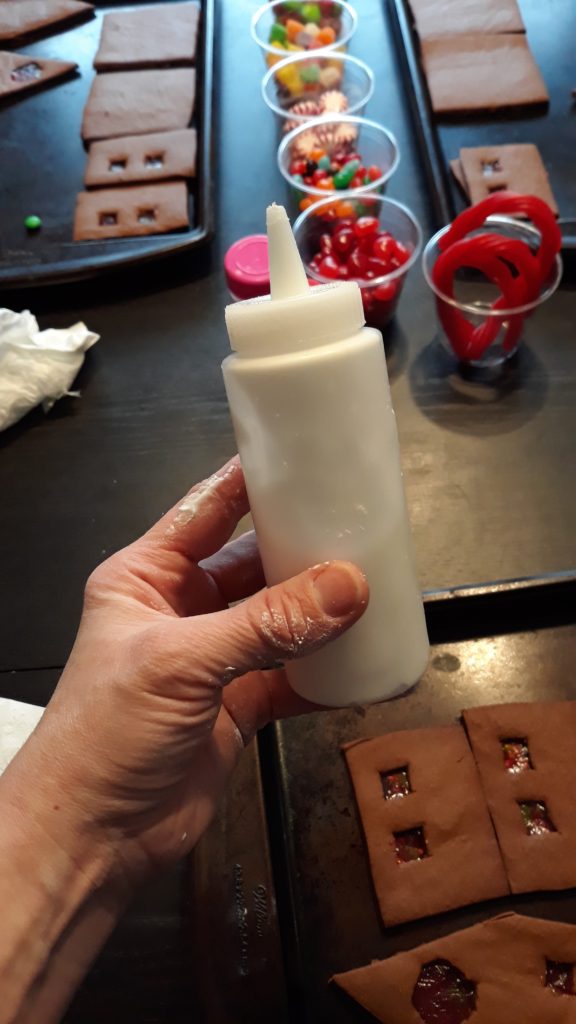
Royal icing is what you want to use when decorating and assembling your house. This is my go to recipe whenever I need royal icing. While the saying with glue may go “a dot of glue will do”, you want to make sure to use enough icing that the decorations will stay. I like to put the royal icing in a squeeze bottle so each kid can have their own.
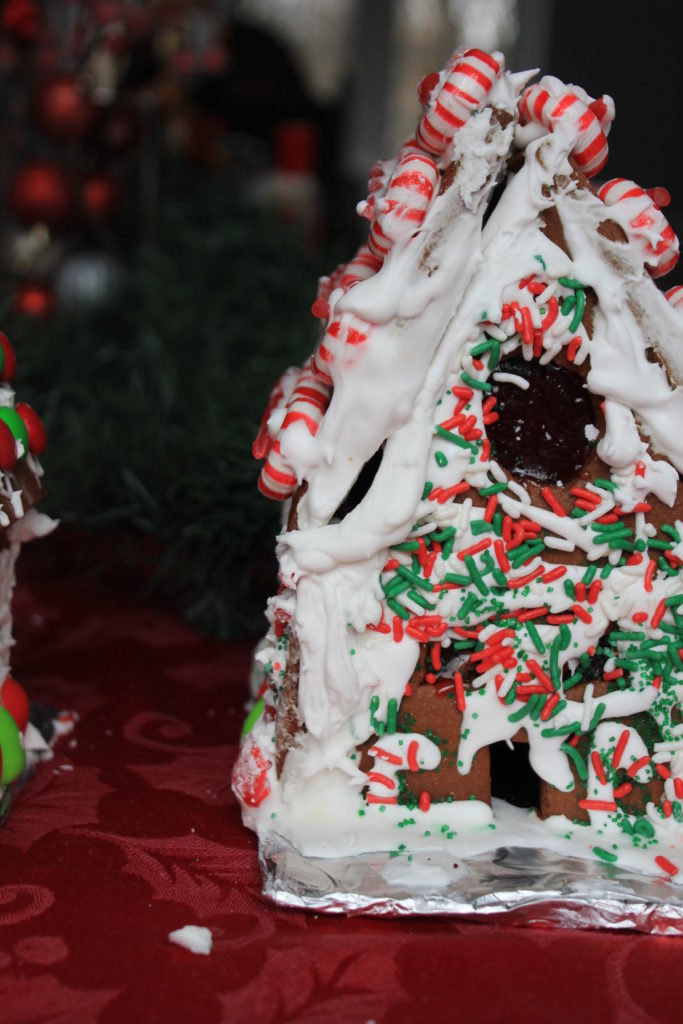
Tip #6: Decorate the sides before assembling

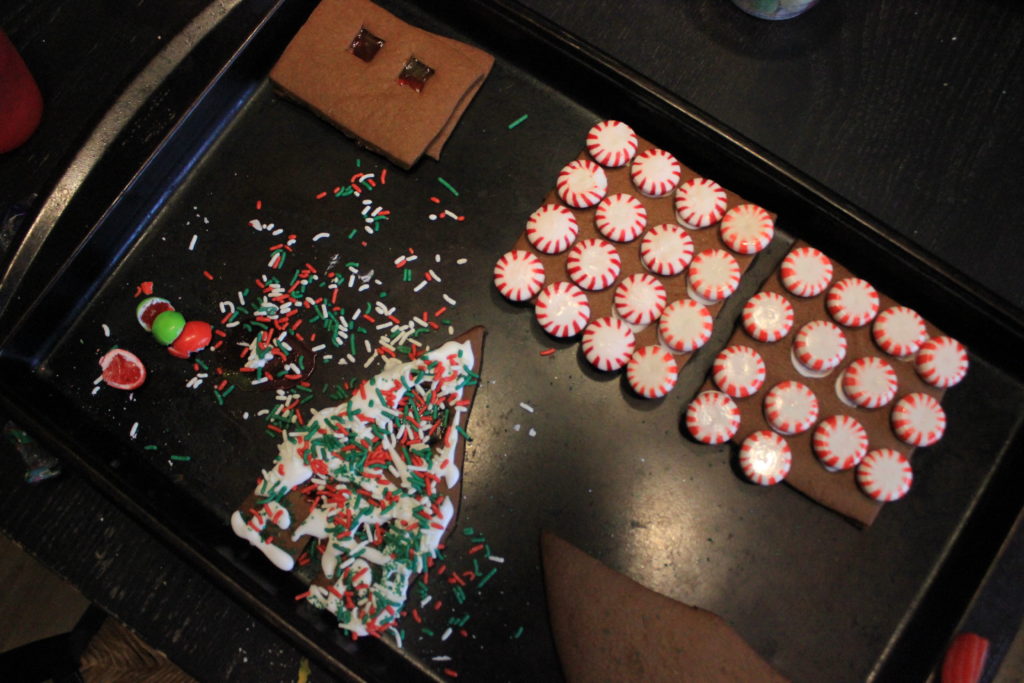
When I learned this little tip, it was a game changer. Do you know how much easier it is to decorate your house pieces flat on a table? Much, much easier. After decorating allow the sides to sit overnight so that the royal icing hardens, which will really help the decorations stay on.
As you can see from the pictures I also have everyone decorate their sides on a cookie tray. It helps keep all the rouge sprinkles to not go all over the place.
Tip #7: Assemble side pieces first
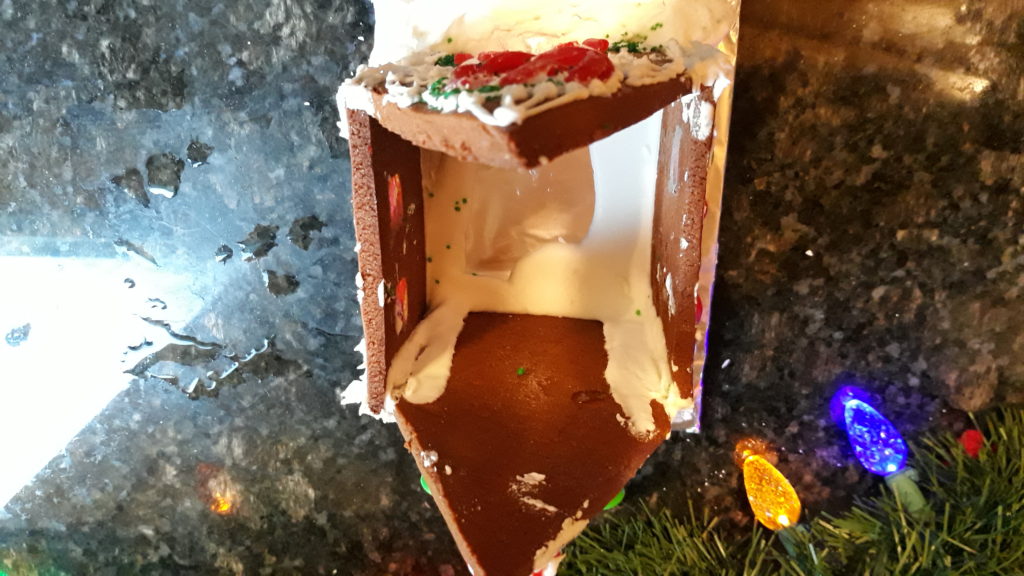
When I assemble my houses I usually add some more powder sugar to the royal icing I used. I want the icing to be super, super thick. Make a square of icing on whatever you will be assembling your house on. Place two sides together first, using royal icing as glue at the edges. Then do the same thing with the other two. Allow to sit overnight and harden.
Tip#8: Put roof on last
Last up is to put your roof on. Use royal icing to secure it in place.
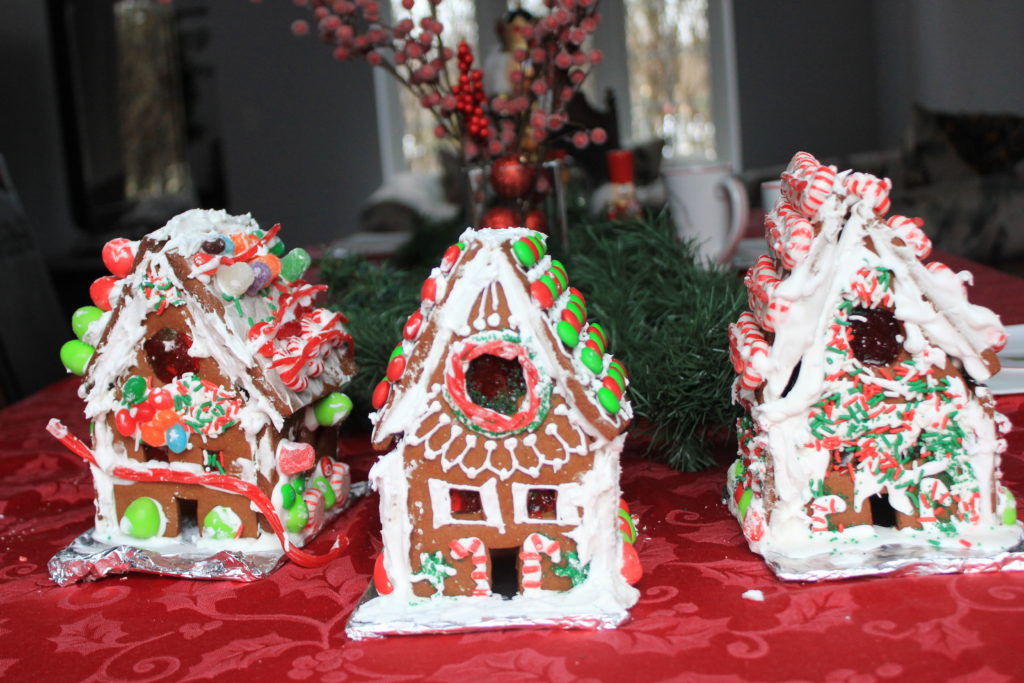
Tip #9: Give each person their own

I highly suggest making smaller houses, and letting each person do their own. This way you don’t have to listen to fighting about what to do, where to put candy, and so on. I always make my own because I like to improve my skills.
Tip #10: Go with the flow
So this is hard for me, but many times, when it comes to decorating my gingerbread house, things don’t go as planned. What I thought would work, end up being a disaster. So I have to just sort of go with the flow. I focus on the fact that my kids are having a blast.
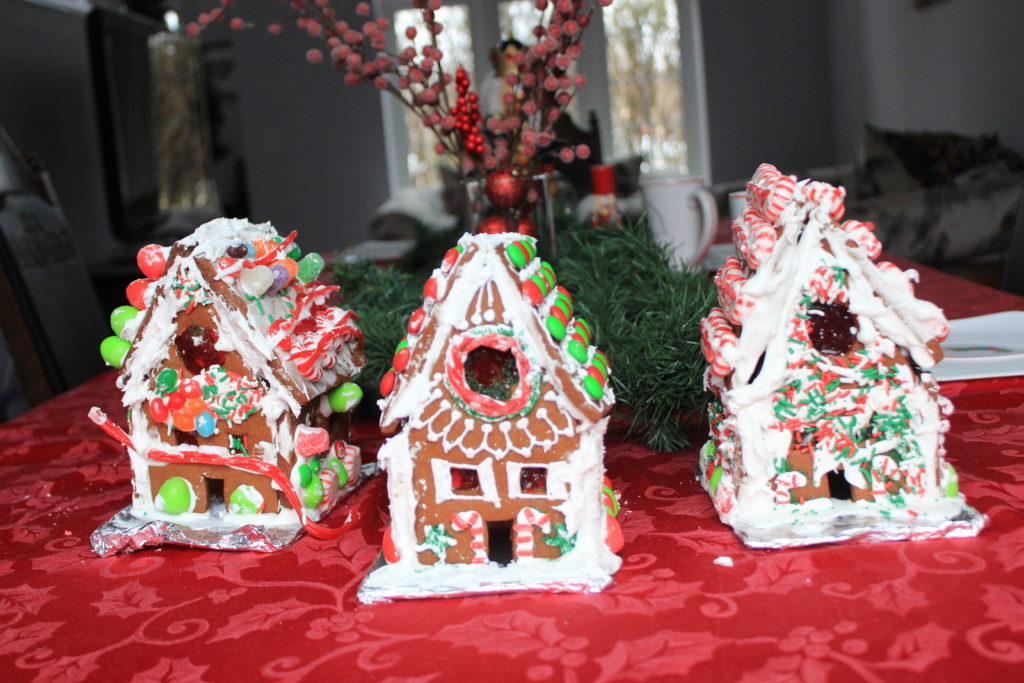
I hope these 10 gingerbread house tips and tricks inspire you to try building your own gingerbread house! I’ve really loved watching how The girls have changed their decorating style as the years have gone own.