
If you are a parent and anything like me, you have heard of Melissa and Doug. I was introduced to them as a teacher, and when I became a parent I knew I wanted to use them with my own kids. I love the wooden toys they make. With no electronics, my girls are free to play with them as they like. Some of their favorite toys are the kitchen food. We have many picnics and cookie baking days.
Most of Melissa and Doug toys come in wooden trays. When I began my “reorganization” of the toys, I realized I really didn’t need to keep all of the trays. Many of the trays could be used with multiple toys, and other toys were easier stored in bags. I felt it a waste, however to just through out the pretty solid trays. So I decided to re purpose them!
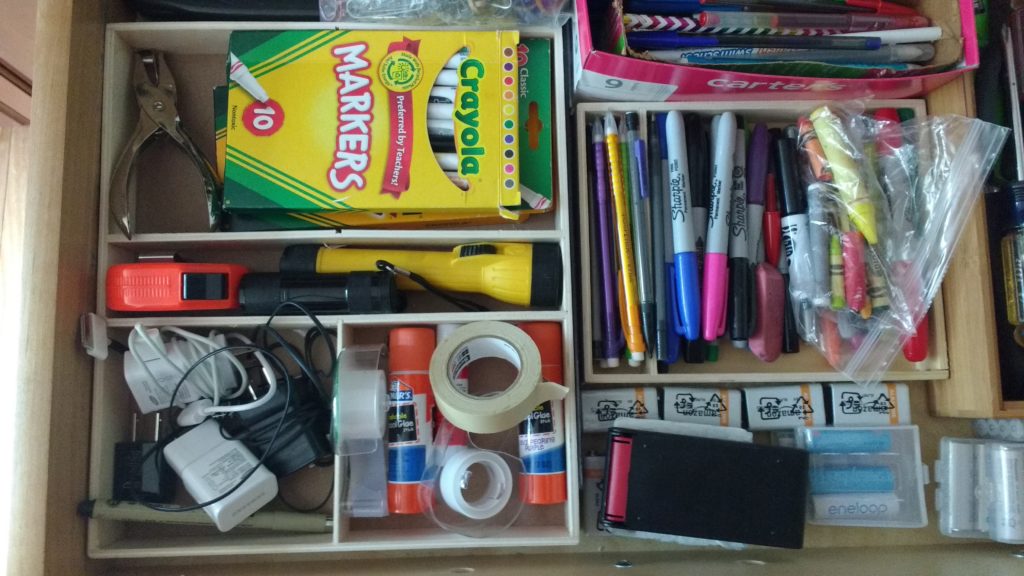
Two trays I used to to keep our junk drawer in check.
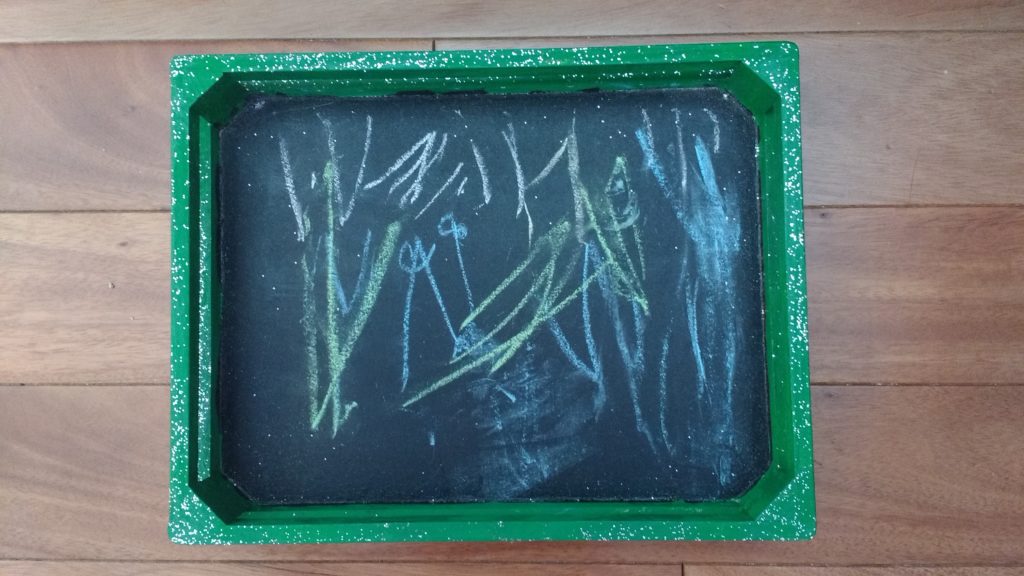
I painted the bottom of another tray with chalkboard paint, so that my daughter could have a mini chalkboard.
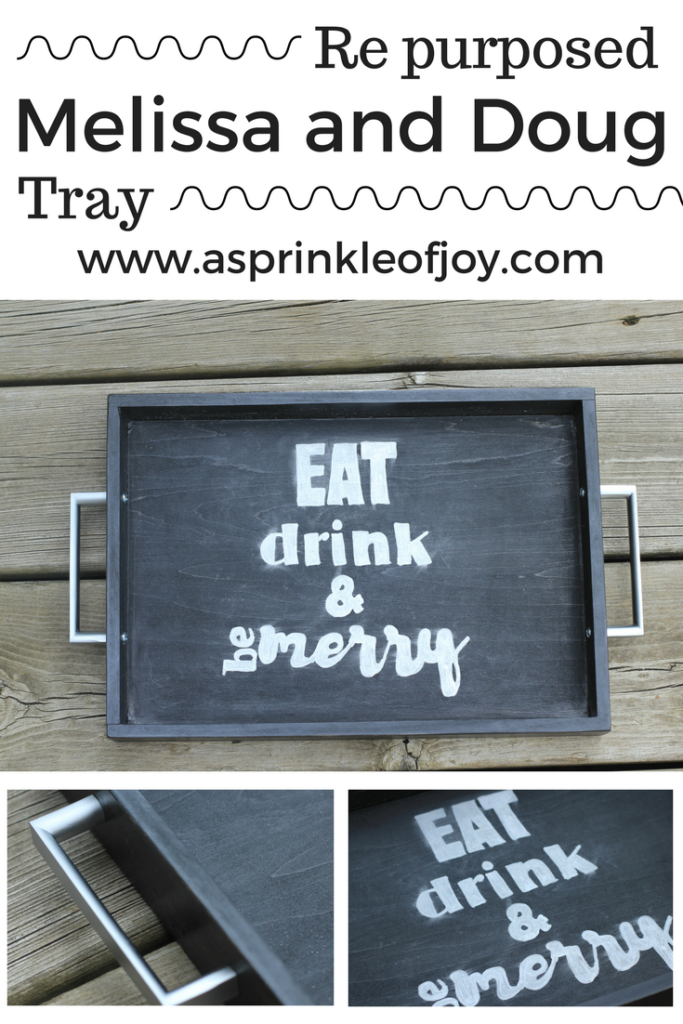
The re purpose I liked the best? A tray to use around the house. If you remember I made this chevron tray to help keep our coffee area neat and tidy. Ever since that I’ve been itching to try something new.
So, how do you make this piece of awesomeness?
ONE:
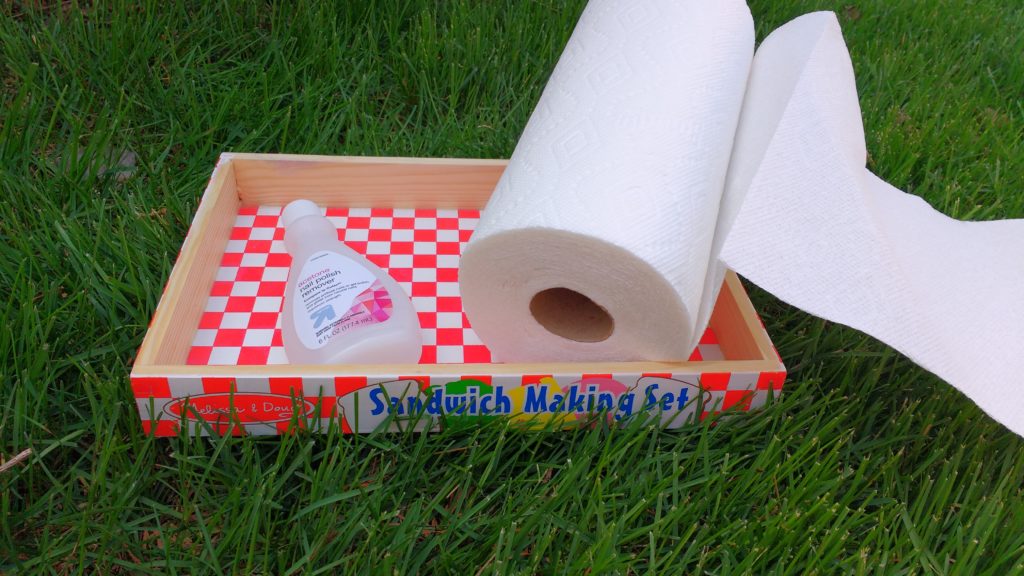
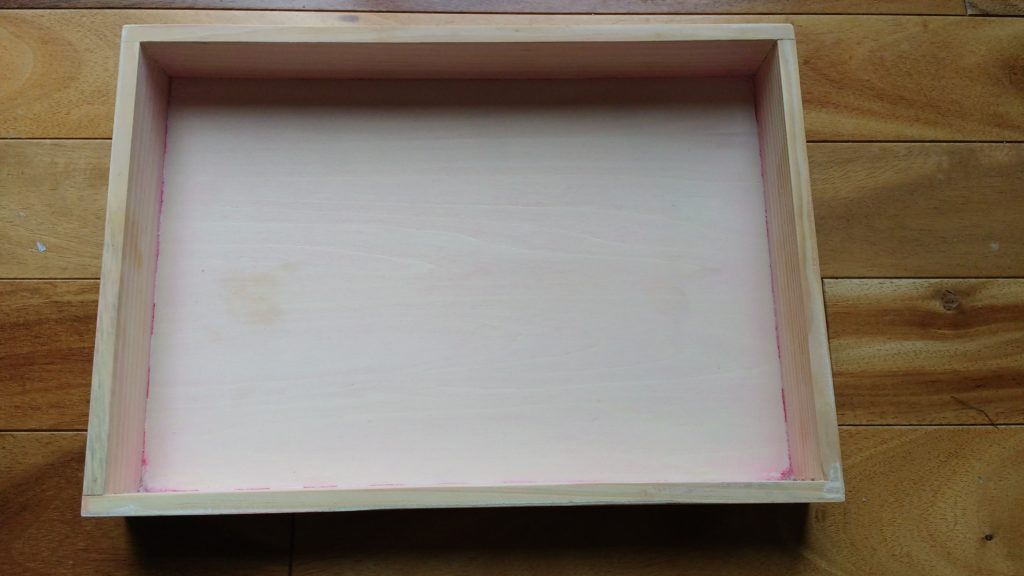
To start off, you’ll have to remove all the paint. Acetone based nail polish remover worked well. Or you could use pure acetone. It’s super smelly, and you’ll need a lot. I suggest doing this step outdoors.
TWO:
After you get all the paint off (or to the best of your ability, as you can see mine is still slightly pink) wash it a little with some mild soap, then lightly sand it.
THREE:
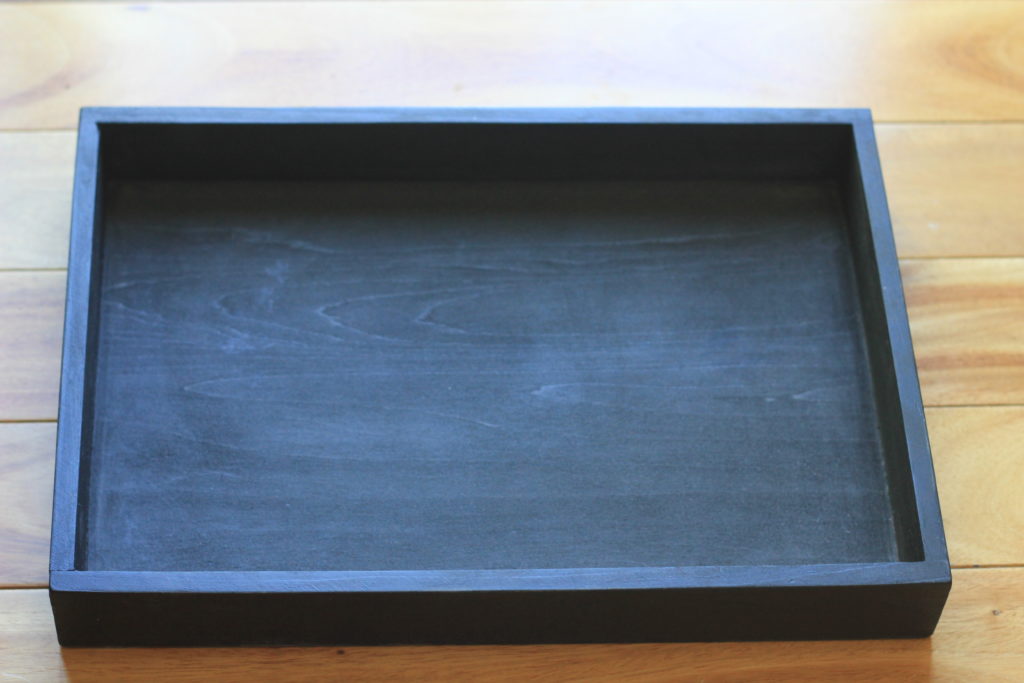
After that find a stain you like, and follow the directions. I used the same stain as I did on this DIY Chevron Tray, since I think black is pretty timeless.
FOUR:
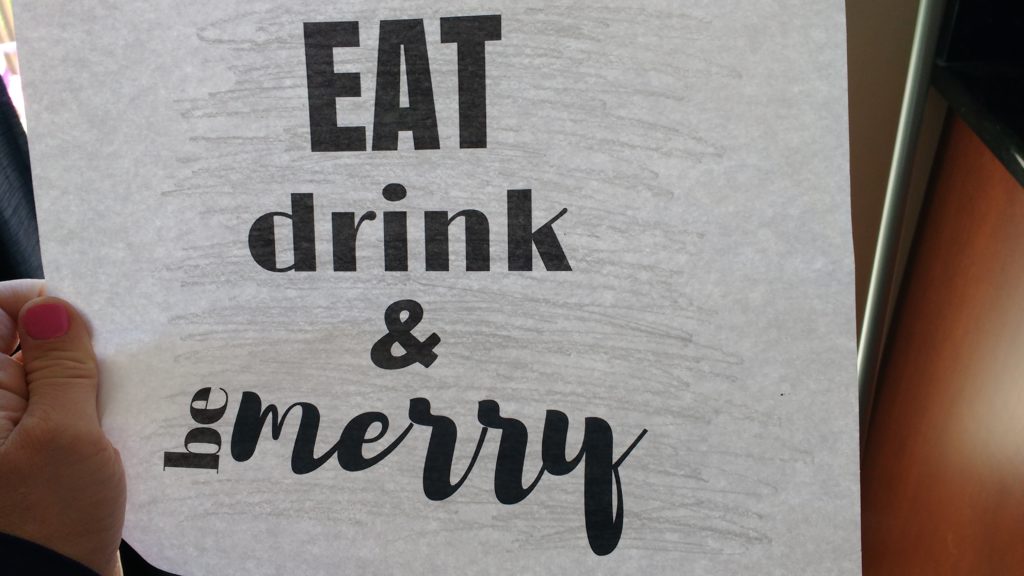
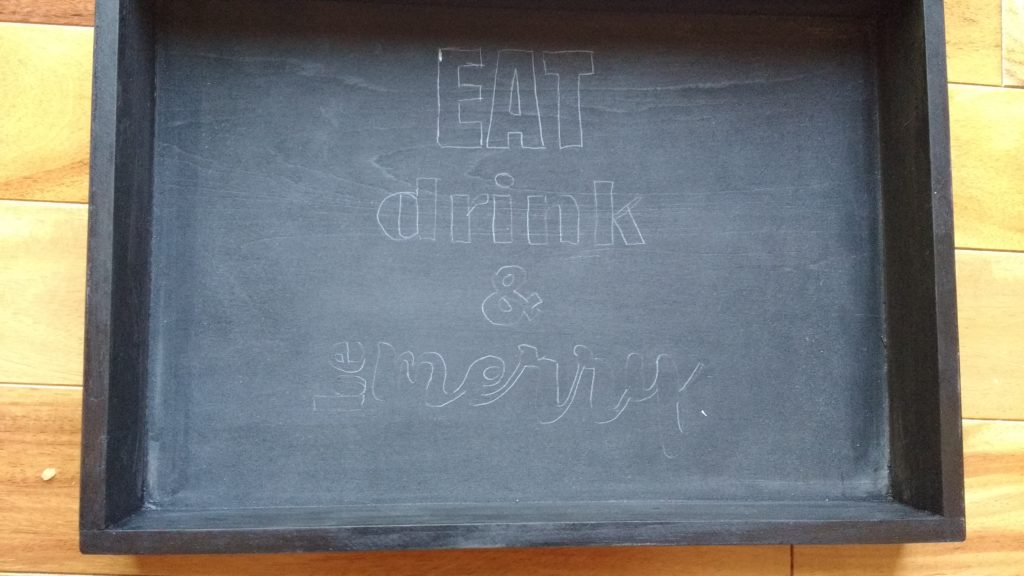
While you could stop there, I wanted to add a little extra. So I decided to paint the phrase “eat, drink, and be merry” on the bottom. To do this I first created the image. You can design your own, or get your free PDF by clicking here. I then rubbed pencil on the the back of the paper.
FIVE:
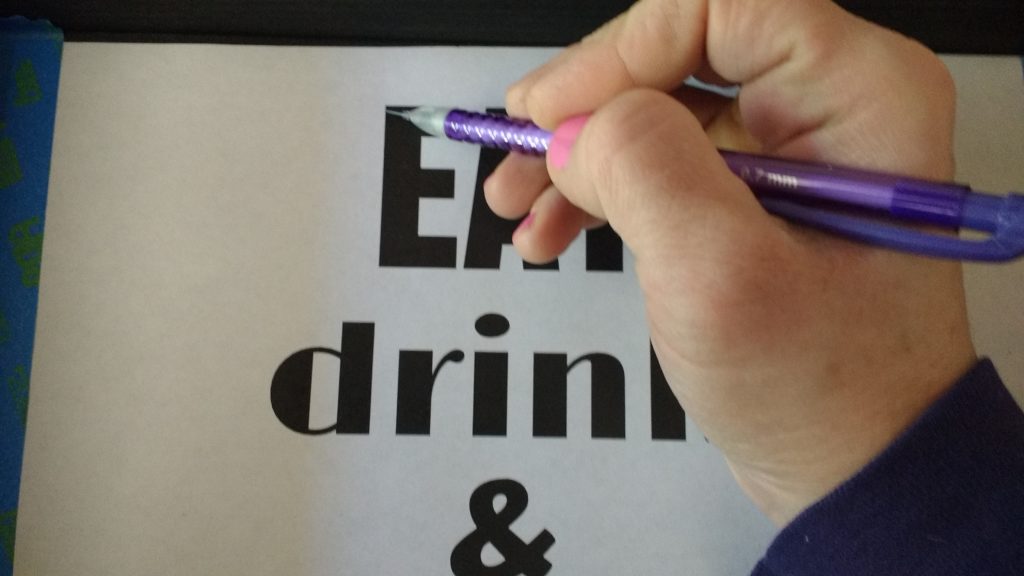
After that I placed the paper where I wanted on the tray and traced the letters with pencil.
Here is how it looks with all of the letters traced on.
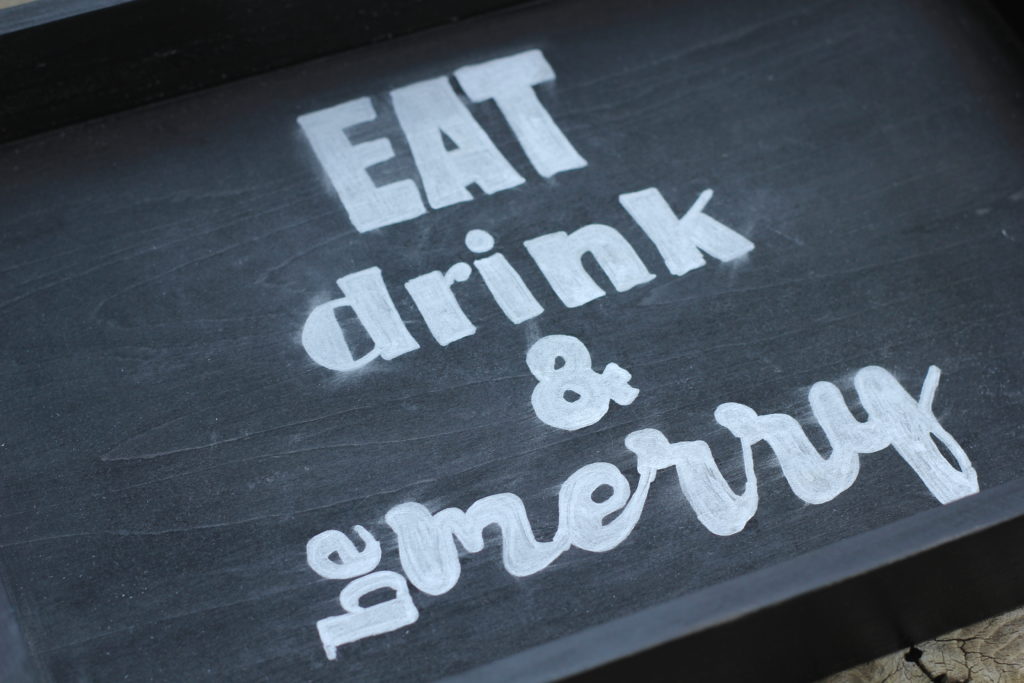
SIX:
Now it’s time to paint those letters! After painting seal it if you would like. I tried using a polyurethane top coat, and it unfortunately ran a bit. After a bit more research I think modge podge or a spay coat would have been a better idea. I hope to test this theory in the future.
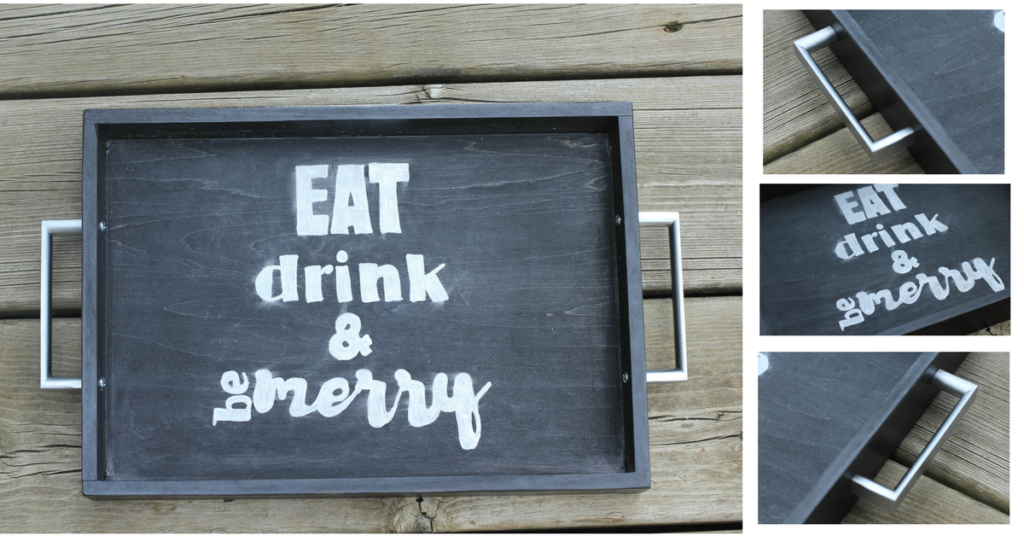
SEVEN:
While you could end there, I wanted to dress it up a bit, so I bought some drawer handles from Home Depot, and had my hubby help put them on.

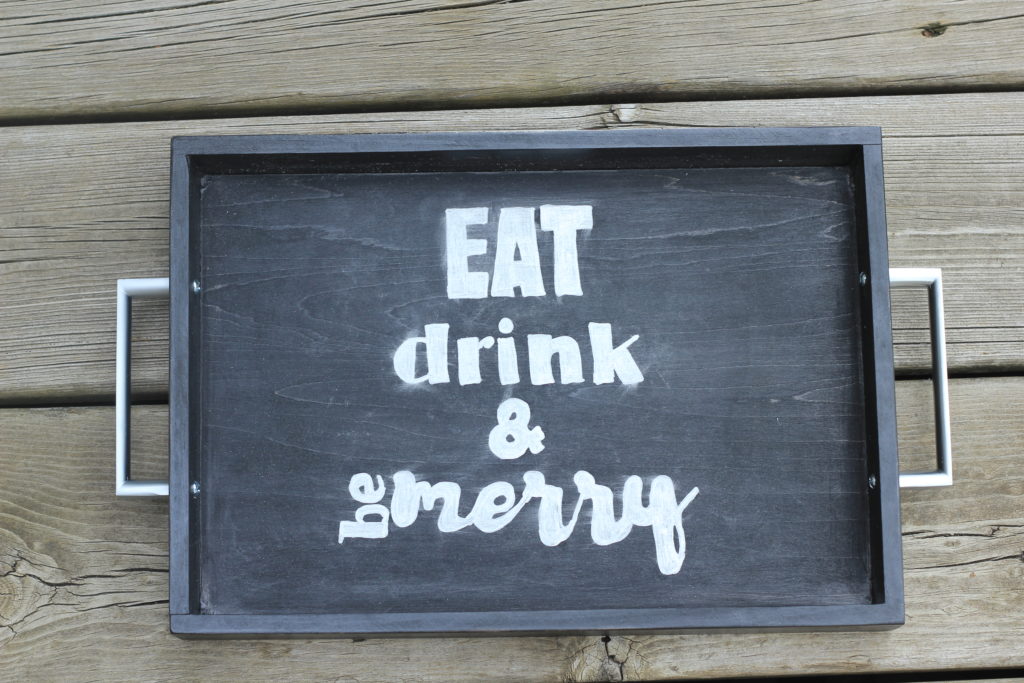
And there you have it! Easy, peasy, lemon squeezy! I’m looking to try a few more designs, so stay tuned!

![Ombre Hearts [Valentine’s Day Craft]](https://www.asprinkleofjoy.com/wp-content/uploads/2016/02/ombreheart.png)