**This post contains affiliate links. That means I make a small commission if you purchase a product (at no extra cost to you) through my link. I only recommend products I love! **
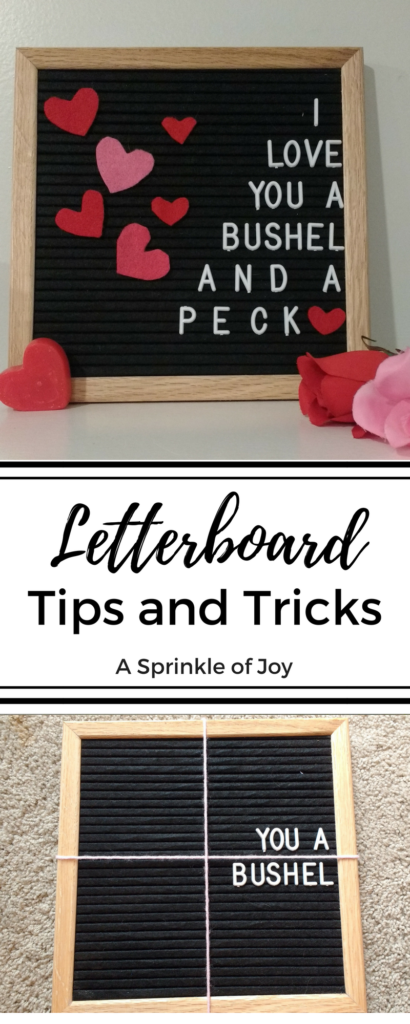
I may be a little late to the party, but I finally got myself a letter board (or should it be letterboard… I’ve seen it both ways and never know which is best). I am loving it! I haven’t done a whole lot of quotes yet, but I wanted to pass along some tips and tricks I’m using. I included some pictures here, but if you scroll a little more, I even did a YouTube video as well!

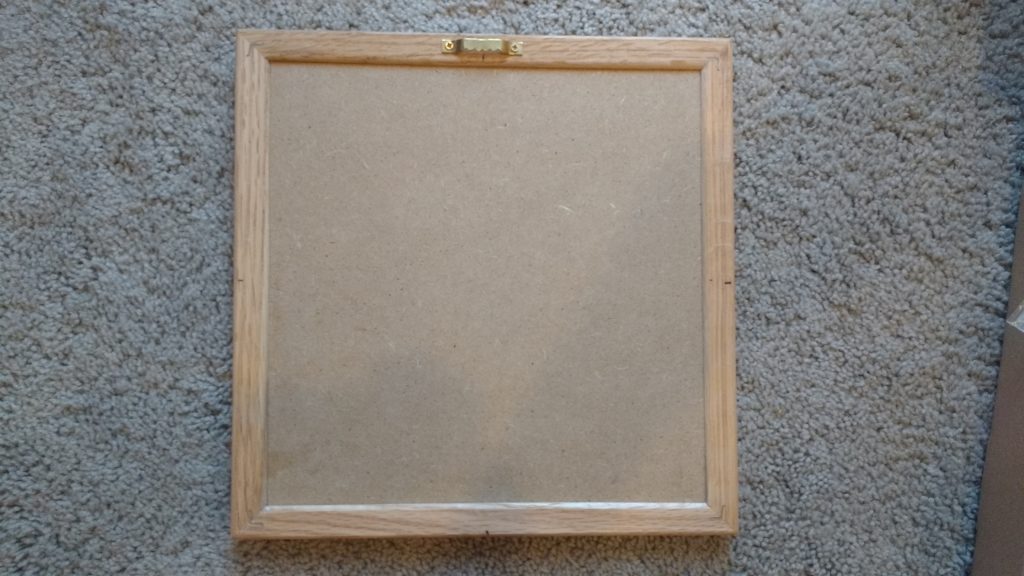
The first thing I did was turn my letter board over and mark the middle of each side. It’s hard to see, but on each edge there is a tiny black line in the middle.
[bctt tweet=”Sharing some tips and tricks about my #letterboard #otb. ” username=”A_Sprinkleofjoy”]
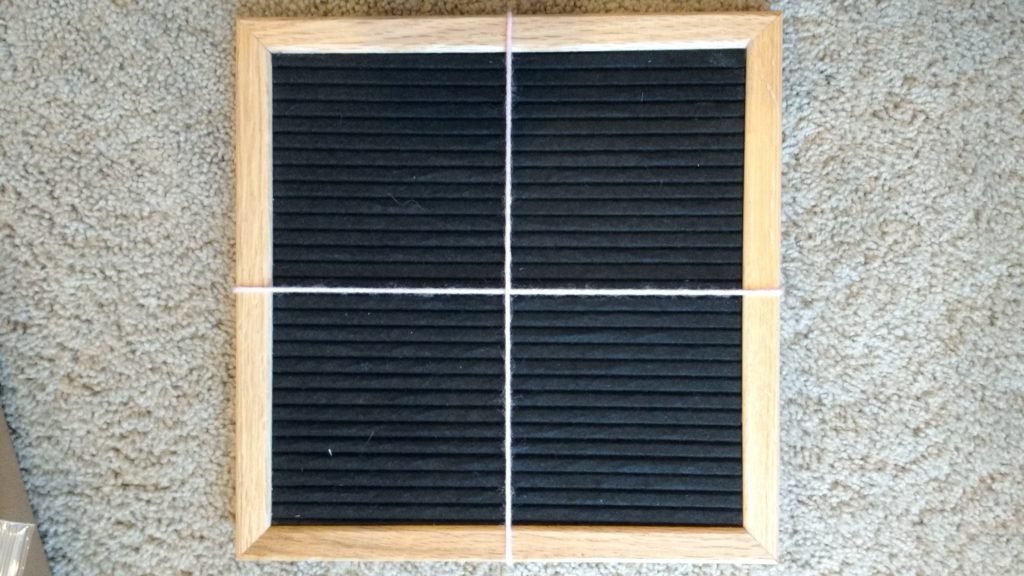
Next up I tied string around the board vertically and horizontally. I used the lines I drew to make sure the strings were in the middle.
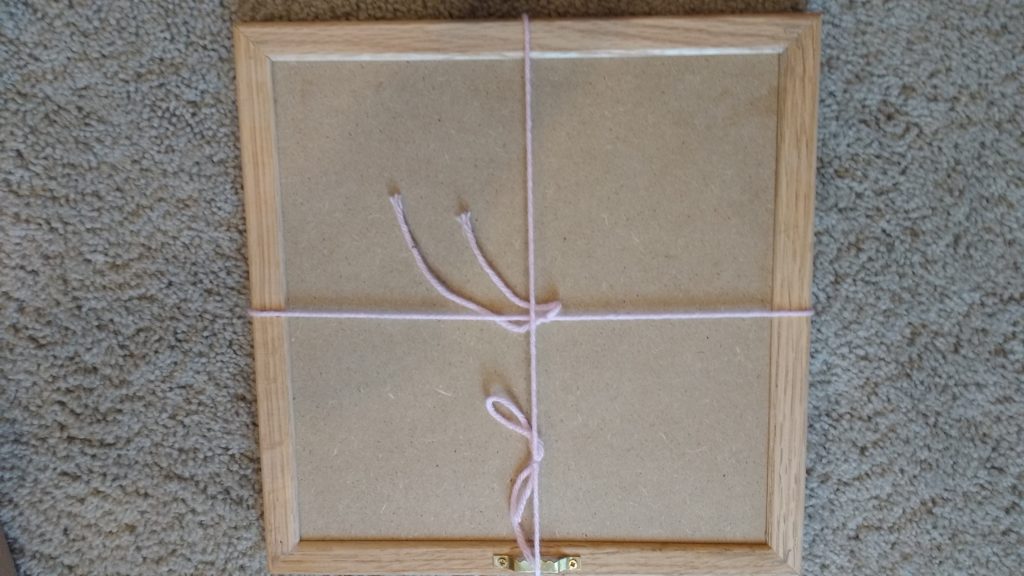
Now, when you turn it over the you can easily find the middle of your letter board.
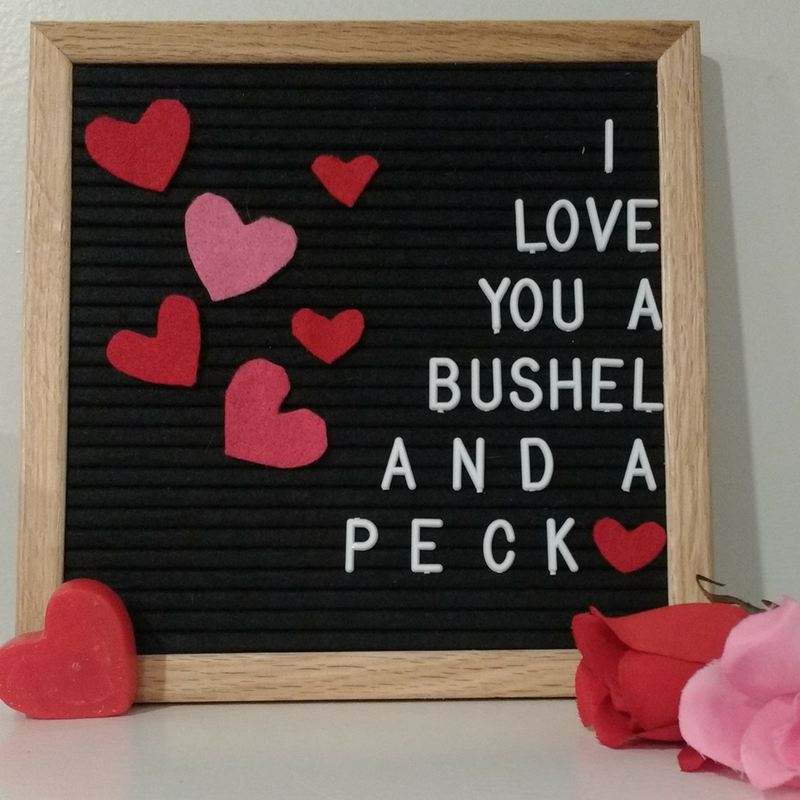
Whenever I do my letter board I always plan it out on a piece of paper first. Then start in the middle and work my way out. It’s hard to explain in writing, so take a look at the video I did.
Another fun tip. If you have a felt letter board, did you know you can cut shapes out of felt and stick them to your board? So easy, ans such a fun way to add some pizzazz to your letter board! I cut out some simple hearts and I think it turned out pretty sweet. I already have ideas for the next one!