**This post contains affiliate links. Purchasing an item through the link does not cost you any more money, but I do make a small commission. This helps support this blog and keeps things free.**
I absolutely love planning. Planing birthday parties, weddings (yes, for the most part I enjoyed planning my wedding, which was before Pinterest, which makes me feel old), my day. Anything really. Planning kinda makes my heart happy.
In the past year or so I started using a planner with my blog, but nothing major. Just a small planner with a calendar. Since I’ve decided this year is going to be “The Year of A Sprinkle of Joy” (any The Middle fans out there??), I stepped up my game. That means I bought a larger planner. I use the ARC system from Staples, but actually won a START planner from Beth’s giveaway, so I can’t wait to compare. At any rate, a larger planner means I needed a new pen storage system.
“Pen storage system?” you may ask.
Yep, a pen storage system, or I guess you could say a pen holder. You see, when I plan, I like to use a variety of pen colors. In terms of my blog, different categories get different colors. It’s nice to take a glance at my planner and make sure I’m not to heavy in one category.

Seriously folks, this is such an easy project to bust out. I think it took me about an hour to make, and that includes stopping to take pictures. If you are looking for a new sewing machine check out the Brother SE400. This is the one I have, and love it!
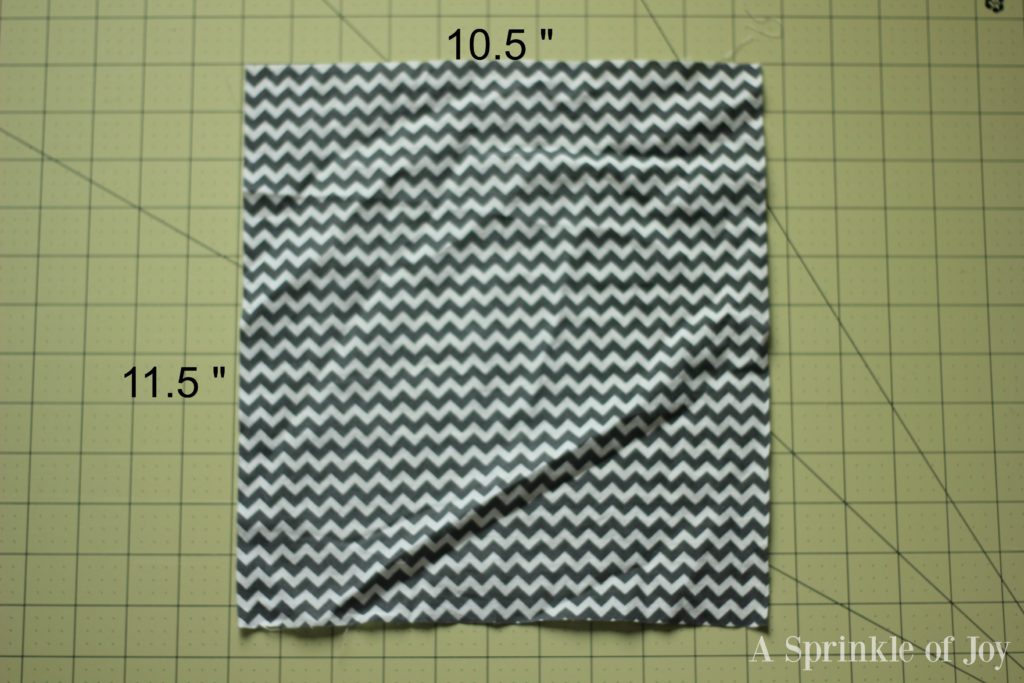
STEP ONE:
Cut a piece of fabric 11.5″ high and 10.5″ long. You will be folding this half so that the finished dimensions are 11.5″ long and 5.25″ high.
STEP TWO:
Fold each 11.5″ side over about 1/4 of an inch and iron.

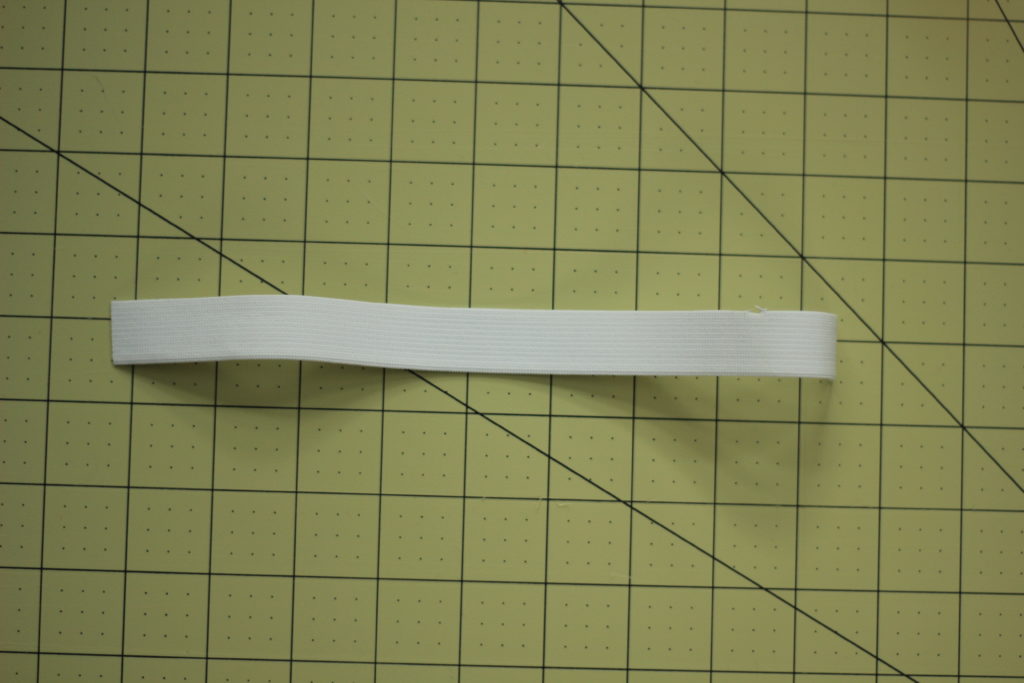
STEP THREE:
Cut your elastic 11″ long
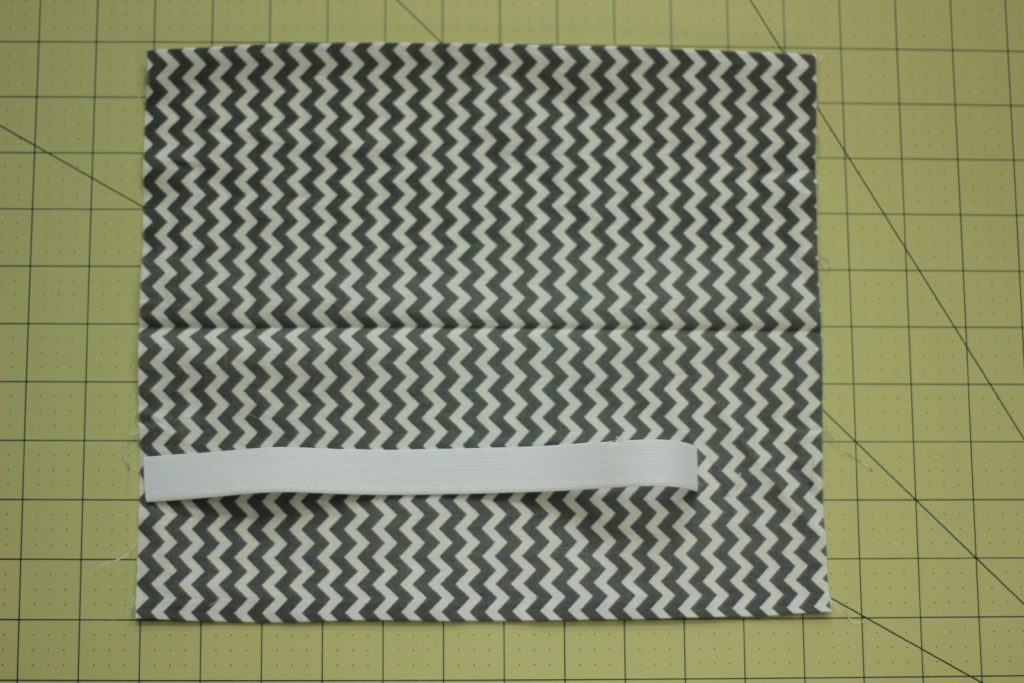
STEP FOUR:
Place your elastic about 5.5″ from the bottom of one of the 10.5″ sides. Be sure to place it on the right side of the fabric.
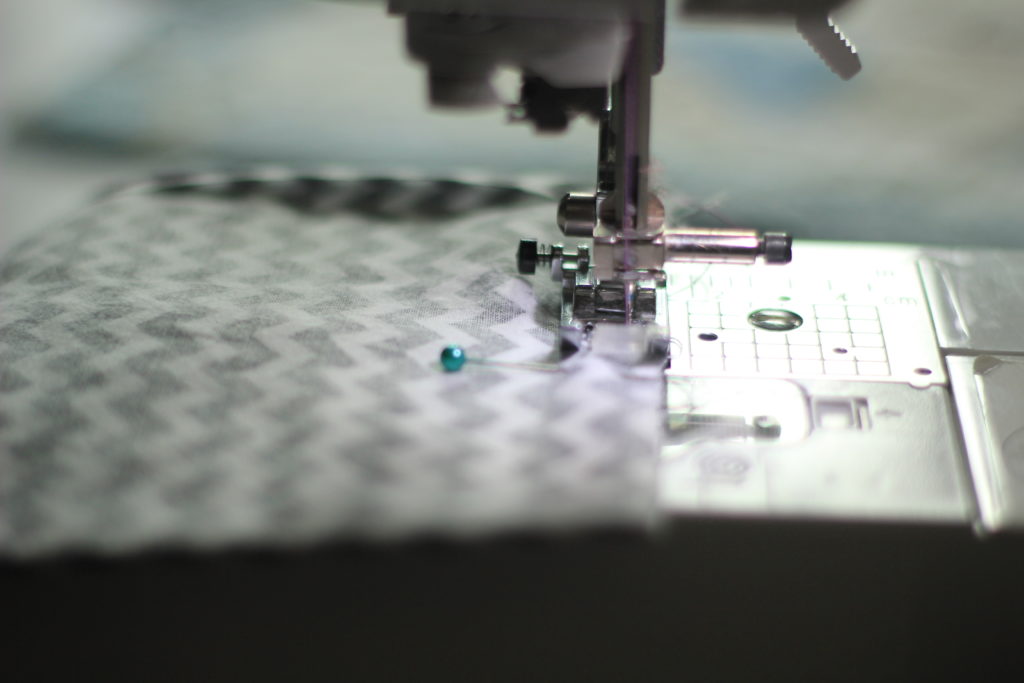
STEP FIVE:
Fold the fabric fabric down, so that the top and bottom sides meet, and so that you are trapping the elastic between each side of the fabric, and sew shut. I also like to use a zig-zag stitch on the seams for some extra stability.
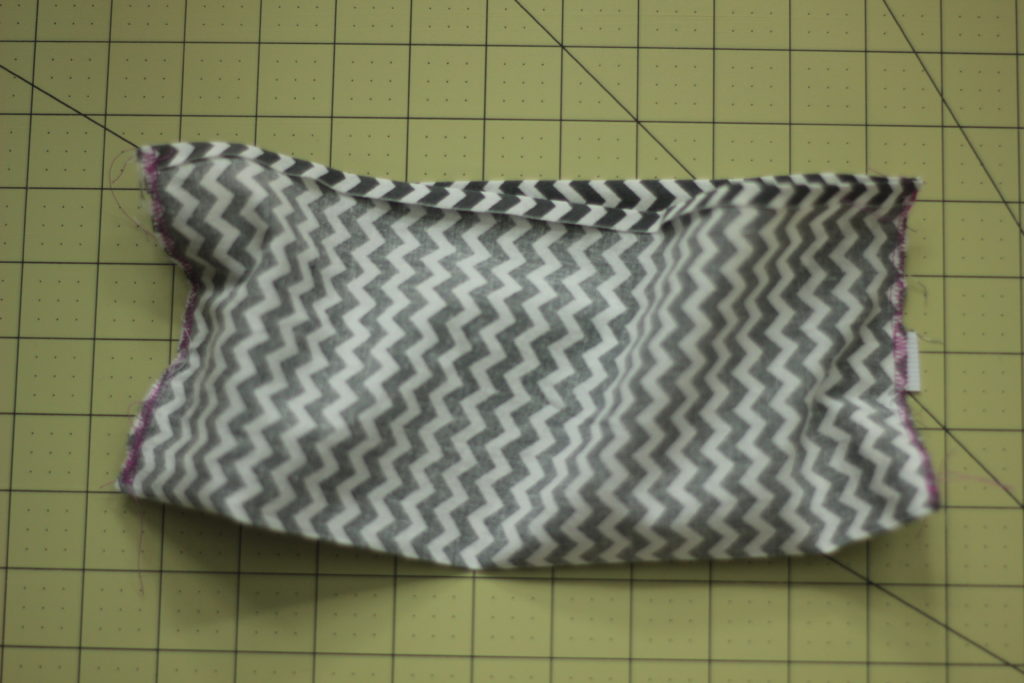
STEP SIX:
Now, do the same to the next side. When you are done it will look like this. It won’t lie flat since the elastic is a tad shorter than your fabric.
STEP SEVEN:
Now, fold over the top of your holder a second time, about 1/4″ (kind of like a hem), and sew.

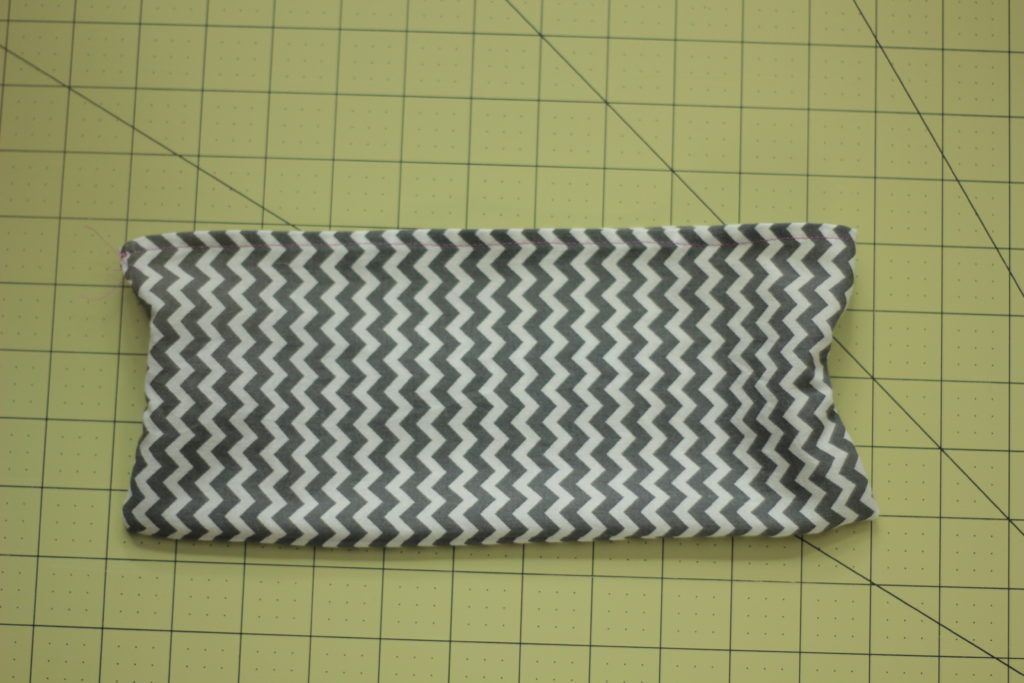
STEP EIGHT:
Now flip the pouch out the right way.
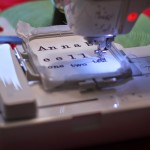
STEP NINE:
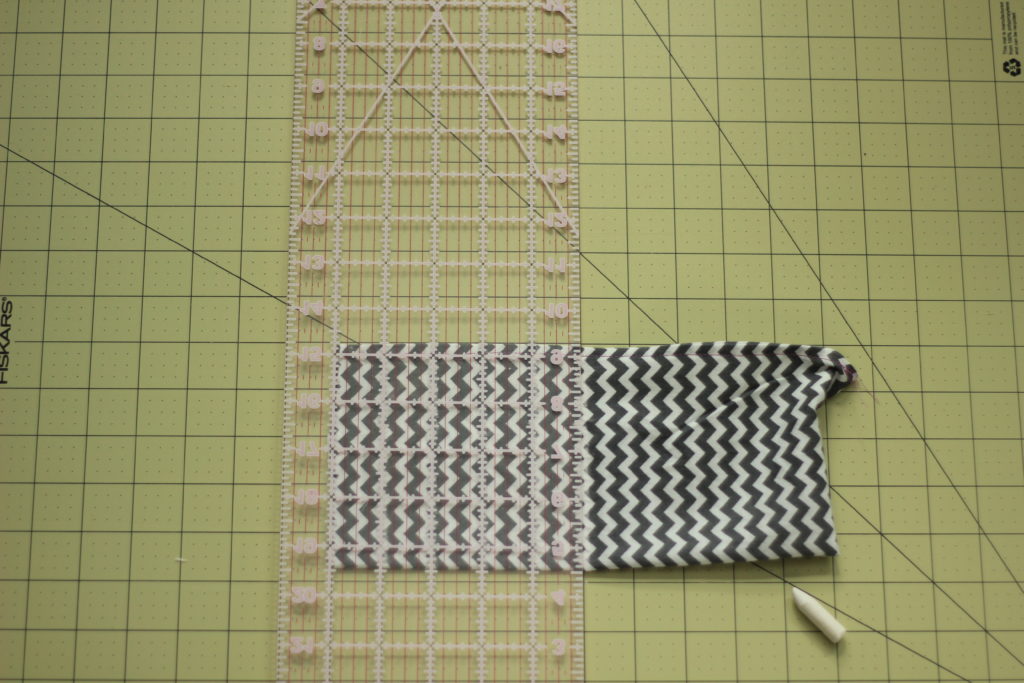
It’s time to start marking where to put the lines. My rotary cutting mat and ruler
made this hell-a easy, but a plain ruler would do just fine. I used chalk that I sharpened with a pencil sharpener, and made the lines an inch apart.
STEP TEN:
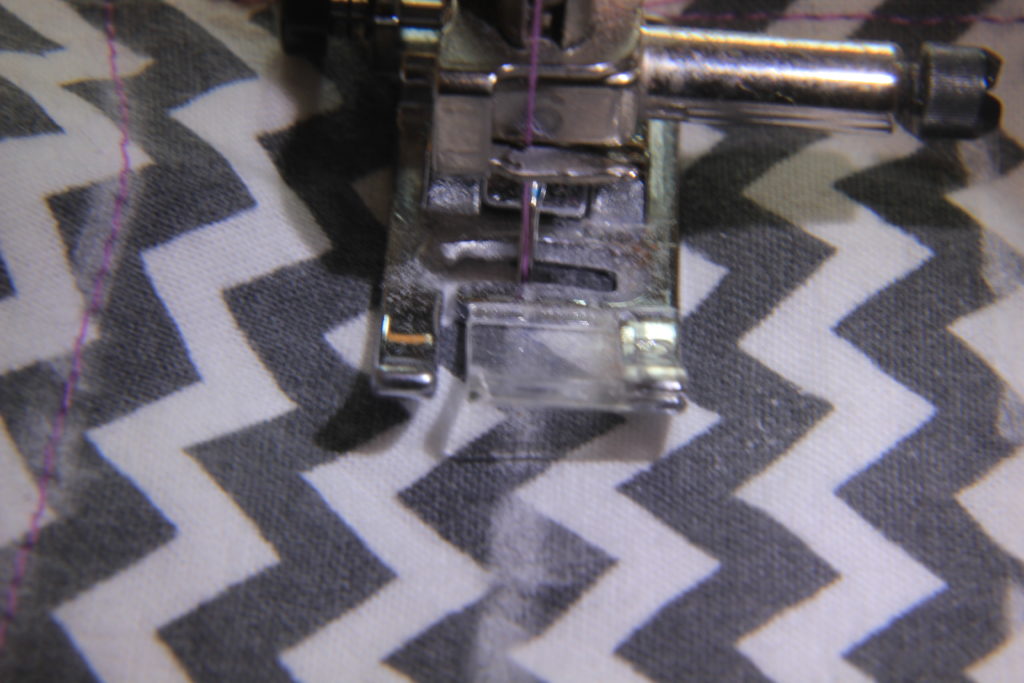
Now sew on those lines. To make this easier I adjusted my needle so that it was in the center of my presser foot. The presser foot I use has a little notch in the center, which makes it easy to keep things striaght.
And that’s it, your done! Now, put your pens in and admire your work.

Seriously, it’s really easy. It took me more time write this post, than to sew my pouch.
Linking up: